Windows’ Snipping Tool offers users an efficient method for quickly taking, editing, saving, and storing screenshots directly on their computers.
Since its initial debut with Windows Vista, however, the Snipping Tool hasn’t always provided reliable service to its users. Since upgrading to Windows 10 or 11, many have reported run-time issues resulting in “Snipping Tool not Working” messages, which disrupt workflow processes and create delays along their workflow process.
In this guide, we’ll detail some of the primary causes behind why my Snipping Tool is not working and how to fix it
1. Restart the Windows File Explorer
Let’s identify our problems first. Since Snipping Tool is associated with the File Explorer service, any issue with it could impede its proper function and lead to Snipping Tool ceasing operations. Should File Explorer become unresponsive due to some unknown reason, Snipping Tool would become inoperable as well.
A simple fix is to restart File Explorer. To do this,
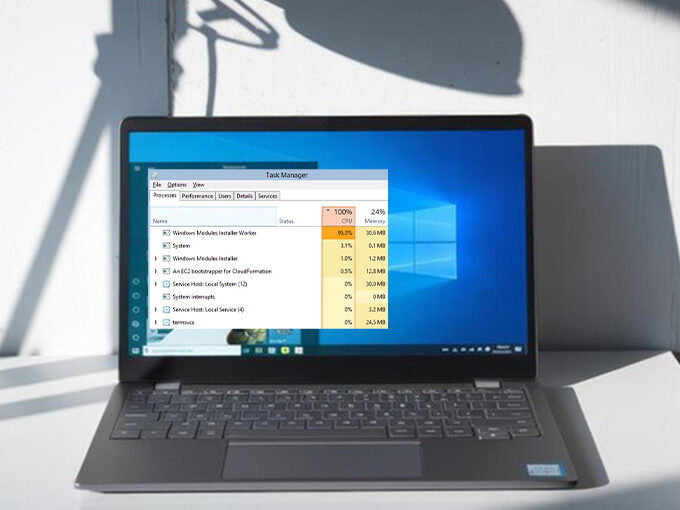
- Press Ctrl + Alt + Del and choose Task Manager, or simply press Ctrl + Shift + Esc to open Task Manager directly.
- In the Task Manager, locate Windows Explorer. Right-click it and choose Restart from its context menu.
When File Explorer restarts, you might notice unusual desktop adjustments, such as the taskbar disappearing and wallpaper changing to black. Both are perfectly normal, as File Explorer relies on these components of desktop infrastructure for operation. When its service restarts, these elements reload themselves too.
Also read: Top 10 Tips and Tricks for Windows 11
2. Look for Interfering Third-Party Software
Sometimes, a newly installed program may interfere with the Snipping Tool and keep it from functioning correctly. To check this, follow these steps:
- Type “System Configuration” in the Start menu search bar to open up this panel.
- Navigate to the Services tab.
- At the bottom, check “Hide All Microsoft Services.”
From your list, check for services that could interfere with the Snipping Tool and disable them if any are suspect.
Once complete, test out the Snipping Tool once more to see if it works as expected.
3. Run the Scannow Tool
If your snipping tool stops working, it might be because some system files are damaged or missing. Luckily, Windows has a built-in tool called System File Checker (SFC) that can scan and repair them for you.
Here’s how to run it:
- Open the Start menu and type Command Prompt.
- Right-click it and choose Run as administrator.
- In the Command Prompt window, type this command and press Enter: sfc /scannow
- Wait for the scan to finish. It may take some time.
- Once done, restart your computer and try using the Snipping Tool again.
4. Access Snipping Tool to Run in the Background
Snipping Tool does not work effectively without having the required permissions for running in the background, similar to how apps only function if human users are present within their window. To enable Snipping Tool’s background service, follow these instructions:
- Press Windows + I to open the Settings app.
- From the left-hand menu, select Apps.
- Click on Installed apps (or Apps & features in some versions).
- Scroll down and find Snipping Tool, then click the three-dot menu next to it.
- Select Advanced options.
Under the Background apps permissions section, choose Always (or Power optimized, depending on preference).
This ensures that the Snipping Tool runs seamlessly in the background, making it quicker and simpler to use whenever required.
5. Update Graphics Drivers
Sometimes the reason behind the Snipping Tool not working can be traced to outdated or corrupt graphics drivers – these drivers perform important roles such as capturing and processing images so your Windows device recognizes them correctly.
If the drivers are out of date, they could stop processing screenshots correctly, resulting in compatibility issues and Snipping Tool errors. Updating graphics drivers usually resolves this problem and gets your tool running smoothly again.
6. Update Your Windows Computer
Microsoft frequently releases Windows updates to fix issues on PCs and add new features or security patches, which enhance Windows experiences more user-friendly and enjoyable than they were before, and improve the overall experience of Windows platforms.
If it’s been some time since you upgraded the Windows version, this could be a good time to update it, in case problems or errors on your computer are due to the outdated system files.
7. Disable Focus Assist
Focus, previously known as Focus Assist, is one of those applications that show that everything has pros and cons. If you’re easily distracted, it is likely that you’ve used the app before and succeeded in eliminating a variety of distractions, including notifications and random pop-ups.
In addition to these notifications and other pings that are random pings, it also blocks several useful applications, which include Snipping Tool as well. Thus, turning off this feature in the Focus Assist app can help to get around this issue.
- Use these instructions to deactivate Focus Assist on Windows:
- Open the Start menu, type “Settings” into the search bar, and select the top result.
- In the Settings window, go to System > Focus Assist.
- Toggle Focus Assist off to disable it.
Once disabled, notifications and tools like the Snipping Tool should work without interruption.
Also read: AirDrop Not Working? 8 Easy Ways to Fix It
8. Reset the Snipping Tool
Sometimes, things go wrong for reasons that you’re unable to explain. Your applications running for Windows are not immune to incidents of this kind.
If you discover one of your Windows applications in a situation like this, one of the best options is to provide the app with an easy reset. Resetting will restore the app to its default settings, where everything is working well.
Should a Snipping Tool troubleshooting error result from any sudden errors during its application, it must be resolved according to these steps.
9. Enable the Auto Copy Feature
If the auto-save feature in Snipping Tool has been disabled, images won’t be stored to their default locations automatically.
To avoid that scenario, open Snipping Tool and choose the Settings menu. There are icons for ellipses located near the upper-right corner.
Once completed, switch on “Automatically Save Screenshots.” Once you’ve set this up, your snapshots will be saved immediately, and it will fix your Snipping Tool not working.
Final Remarks
As Snipping Tool ties directly to taking screenshots, its significance cannot be overemphasized. Screenshots provide a quick and effective means of sharing information, yet when issues with the Snipping Tool not working arise, it can become very irritating indeed.
Snipping Tool has long been a part of Windows OS, making its usage essential to getting the most out of it. Mastering shortcuts, learning helpful tips and tricks, and even creating hotkeys will allow for much quicker screenshot capture, editing, and storage on PC without interruptions or delays.


Leave a comment