

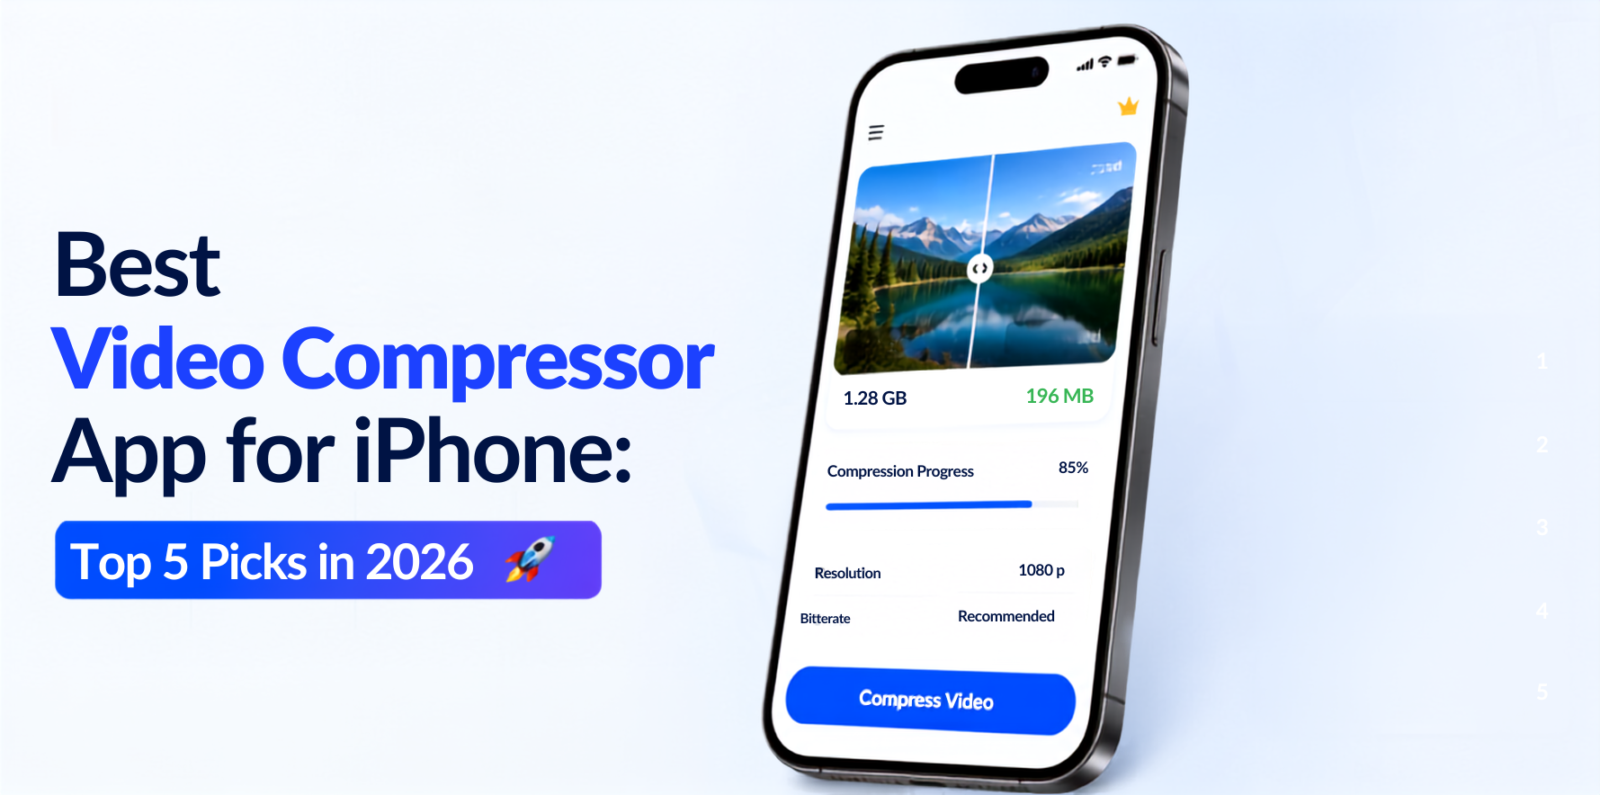
Managing large video files on your iPhone isn’t easy, especially if you are dealing with storage restrictions or sharing limitations on social media platforms and apps like Discord. This is why using a video compressor app for iPhone is vital. High-quality videos take up a lot of storage space on your iPhone and cause file size limit issues when sharing.
To solve this issue, this article offers a list of the best video compressor app for iPhone that allows lossless compression and integrated editing features. You’ll see how to reduce video size on the iPhone. This helps you conserve space and share your content without hassle.
Best iPhone Video Compressor Apps at a Glance
| Video Compressor App | Best For | Batch Compression | Quality Control | Pricing |
|---|---|---|---|---|
| Compress Videos & Resize Video | Best Overall | ✅ | ⭐⭐⭐⭐⭐ | Free with in-app purchases |
| Video Compress – Shrink Videos | Best Free Option | ❌ | ⭐⭐⭐⭐ | Free with in-app purchases |
| Video compressor – save space | Best for Advanced Controls | ✅ | ⭐⭐⭐⭐⭐ | Free with in-app purchases |
| Video Compressor-Shrink videos | Best for Batch Compression | ✅ | ⭐⭐⭐⭐ | Free with in-app purchases |
| Video Compressor & Editor | Best for Editing + Compression | ✅ | ⭐⭐⭐⭐⭐ | Free with in-app purchases |
Best Video Compressor App for iPhone
To reduce video size without compromising quality, we have five top video compressor app for iPhone.
1. Compress Videos & Resize Video — Best Overall
Why we recommend it
If you want a straightforward way to reduce video size on iPhone without dealing with complicated encoding settings, then you can use this video compressor app for iPhone. It focuses on reducing video size while maintaining visual quality, and it supports both iPhone and iPad. The app also allows videos to be processed directly on the device, which is useful if privacy is important to you.
Key features
- Video compression and resizing
- Support for iPhone and iPad
- Compression designed to preserve visual quality
- No watermark
- On-device processing
- Options for reducing videos before sharing or storing them
Pros
- Simple interface
- Good fit for everyday iPhone users
- Processes videos on the device
- Useful for freeing storage
- No watermark
Cons
- Advanced encoding controls are less prominent than in some specialist compressors
- Free/in-app-purchase availability can vary by feature
Pricing
The app is available to download for free and may offer in-app purchases. Check the price in your region.
How to compress a video
- Install Compress Videos & Resize Video from the App Store.
- Open the app and select a video from your Photos library.
- Choose the desired compression or resizing option.
- Preview the result when available.
- Save the compressed video.
- Compare the new file with the original before deleting the original.
For important videos, always check the compressed copy before removing the original.
Also read: Best Photo Compressor App for iPhone (2026 Guide)
2. Video Compress – Shrink Videos — Best Free Option
Why we recommend it
If you simply want to reduce a video to a specific file size, you don’t need complicated compression settings.
This video compressor app for iPhone lets you use a slider to set the target file size, with compression performed locally on the device. It also says that the app works offline and does not upload your videos.
That makes it particularly useful when you are trying to shrink a video enough to send or upload it.
Key features
- Target-size slider
- Local/offline compression
- Simple interface
- Designed for reducing storage usage
- No internet connection required for compression
Pros
- Easy to understand
- Useful when you have a target file size
- Offline processing
- No need to upload personal videos
- Good choice for occasional compression
Cons
- Fewer advanced controls than some encoding-focused apps
- Results depend on the source video’s resolution, frame rate, codec, and target size
Pricing
The app is available through the App Store; check the current listing for pricing and any in-app purchases in your region.
How to compress a video
- Open the app.
- Select the video you want to shrink.
- Move the target-size slider.
- Choose a size that meets your sharing or storage requirements.
- Start compression.
- Review the resulting video before deleting the original.
Tip: Don’t automatically choose the smallest possible size. If the video contains text, faces, fine detail, or fast movement, an aggressive reduction can make compression artifacts much more noticeable.
3. Video compressor – save space — Best for Advanced Controls
Why we recommend it
If you want more control over the compression process, Video compressor – save space is more flexible than a basic one-tap video compressor app for iPhone.
It’s an Advanced Mode with controls for resolution, bitrate, and frame rate. It also supports batch compression and can split videos into shorter clips.
These controls matter because file size is influenced by much more than resolution alone.
Key features
- Adjustable compression ratio
- Resolution control
- Bitrate control
- Frame-rate control
- Batch compression
- Video splitting
- Storage-management features
Pros
- More control over output
- Useful for large video libraries
- Batch compression
- Can adjust several important encoding parameters
Cons
- More settings can make it less beginner-friendly
- Choosing aggressive compression settings can reduce visible quality
Pricing
The app is available on the App Store; check your regional listing for current pricing and in-app purchases.
How to compress a video
- Select the video or videos you want to compress.
- Start with the default compression settings.
- If you need a smaller file, open the advanced controls.
- Reduce resolution, bitrate, or frame rate as appropriate.
- Preview the output.
- Save the compressed copy.
For most users, resolution and bitrate are the two settings worth experimenting with first.
4. Video Compressor-Shrink videos — Best for Batch Compression
Why we recommend it
If your iPhone has accumulated hundreds of large videos, compressing them one at a time can be tedious. So use this video compressor app for iPhone.
This app supports multiple-video compression, provides presets, and is designed to identify and reduce large video files. It currently shows a 4.7/5 rating from about 9.7K ratings in the US App Store.
Key features
- Batch video compression
- Multiple presets
- Large-video identification
- Storage-saving workflow
- Photo compression features
- Sharing of compressed videos
Pros
- Useful for large libraries
- Batch processing
- Presets make compression easier
- Strong current App Store rating
Cons
- Preset-based workflows may provide less control than advanced encoders
- Free features and premium options can change
Pricing
Check the current pricing and in-app purchases on the App Store.
How to compress multiple videos
- Open the app and allow access to the videos you want to process.
- Select multiple large videos.
- Choose a compression preset.
- Start batch compression.
- Review the resulting files.
- Keep the compressed versions you want and delete originals only after confirming that the new files are satisfactory.
5. Video Compressor & Editor — Best for Compression Plus Editing
Why we recommend it
Sometimes the best way to compress video on iPhone isn’t simply to compress it. But this video compressor app for iPhone also includes editing features that let you remove unwanted watermarks, crop the frame, or change the codec, helping reduce the amount of data in the final video.
Video Compressor & Editor combines compression with editing tools. It supports batch compression as well as cropping, trimming, cutting, splitting, merging, and rotating videos. It also lists HEVC and H.264 codec support.
Key features
- Batch compression
- Video trimming
- Cropping
- Cutting and splitting
- Merging
- Rotation
- HEVC and H.264 support
Pros
- Compression and editing in one app
- Useful for preparing videos before sharing
- Batch processing
- HEVC/H.264 support
Cons
- More functionality means a less focused workflow
- Codec and export settings can be confusing for beginners
Pricing
Check the current price on your region’s app store.
How to compress a video
- Import the video.
- Trim unnecessary sections first.
- Crop the frame if you don’t need the entire image.
- Choose the desired compression/export settings.
- Select the appropriate codec if the app gives you that option.
- Export the smaller video.
- Check the final file size and quality.
Also read: 7 Best Video Editing Apps For iPhone And iPad
How We Tested These Video Compressor App for iPhone
A meaningful comparison of the best video compressor app for iPhone should measure more than App Store ratings.
For this guide, we use a feature-and-capability evaluation rather than presenting unverified laboratory compression numbers as if they were independent benchmarks. We checked for current functionality, supported controls, privacy claims, batch processing, and other differentiating features.
The main criteria for selecting a video compressor app for iPhone:
1. File-size control
Can the user choose how aggressively the video is compressed?
A video compressor app for iPhone that provides target size, bitrate, or quality control gets an advantage because users can make more informed trade-offs.
2. Output quality
A smaller file isn’t automatically a better result. We look for workflows that let users preview the output or adjust compression rather than forcing a single aggressive setting.
3. Resolution and frame-rate controls
Reducing 4K footage to 1080p can produce a much smaller file, while reducing frame rate can also lower the amount of video data. Apps offering these controls are more versatile.
4. Batch compression
Batch processing matters when you’re trying to clean up a large Photos library rather than compressing one video.
5. Privacy
Video files can contain personal conversations, children, locations, documents, or other sensitive information. On-device processing is therefore a meaningful advantage.
6. Ease of use
The best video compressor app for iPhone for a casual user isn’t necessarily the one with the most encoding controls.
A simple target-size slider can be more useful than a screen full of technical settings.
Final Verdict: Video Compressor App for iPhone
iPhone and iPad video recordings create extremely large files, and sharing them online is time-consuming. This is why you need a video compressor app for iPhone. The video compressor apps that we’ve included in this post can reduce videos quickly and effectively.
FAQs: Video Compressor App for iPhone
Which video compressor app for iPhone is best for 4K videos?
Video Compressor – Save Space is a strong option for users who want more control over large video files. You can adjust settings such as resolution, bitrate, and frame rate to reduce the size of 4K footage.
Can I compress an iPhone video without losing quality?
Apps such as Compress Videos & Resize Video can reduce file size while maintaining good visual quality. However, heavy compression can result in some quality loss.
Can I compress a video on iPhone without an app?
Yes. You can reduce the size of future video recordings through Settings → Camera → Record Video by choosing a lower resolution or frame rate. You can also use Apple's High Efficiency (HEVC) format, which can reduce storage requirements compared with H.264 in many cases.








Leave a comment