OST (Offline Storage Table) file in Microsoft Outlook is used to store a local copy of your mailbox items on the server. This file is created automatically when you add an account in Outlook using Exchange Server, Microsoft 365, or Outlook.com with Cached Exchange Mode enabled. An OST file allows you to access mailbox items and draft emails or delete items even when Outlook is disconnected from the internet or server. The changes will then get updated on the mailbox server when the connectivity is restored.
OST files are linked with the specific Outlook profile in which they’re created. This means you can’t directly open or import OST file into a different Outlook profile or account. If you want to import OST file into new Outlook, you have to first convert the file to PST format.
In this article, we will see how to convert the OST file to PST and then import the PST file into New Outlook.
How to Convert the OST File to PST?
Below, we have explained two methods to convert the OST file to PST format.
Method 1: Convert OST to PST by using Outlook’s Import and Export Wizard
If your OST file is accessible and the Outlook application is working, you can use the built-in Import/Export Wizard in Outlook to convert the OST file to PST. Follow the steps given below:
Step 1: Open your Outlook account associated with the OST file.
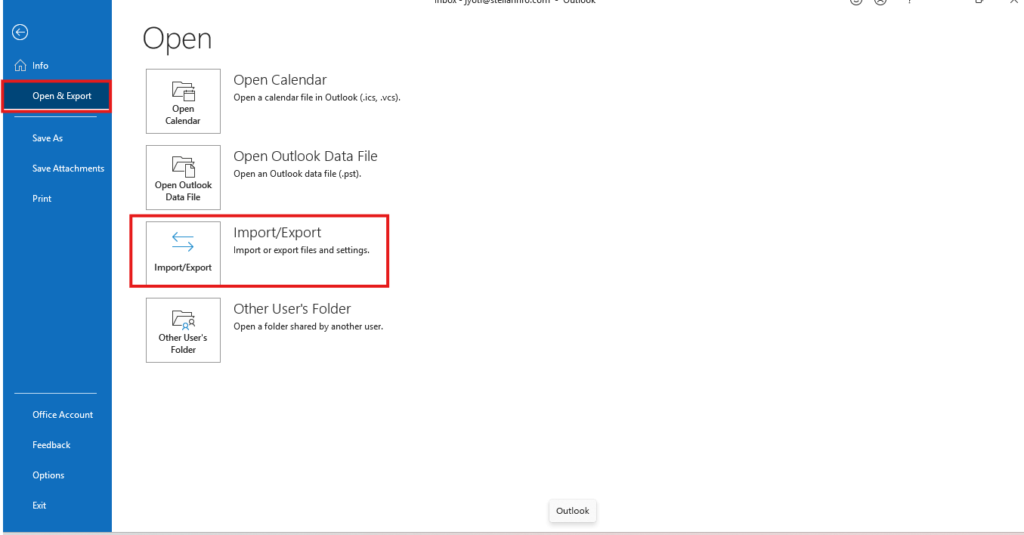
Step 2: Go to File, choose Open & Export, and then select Import/Export.

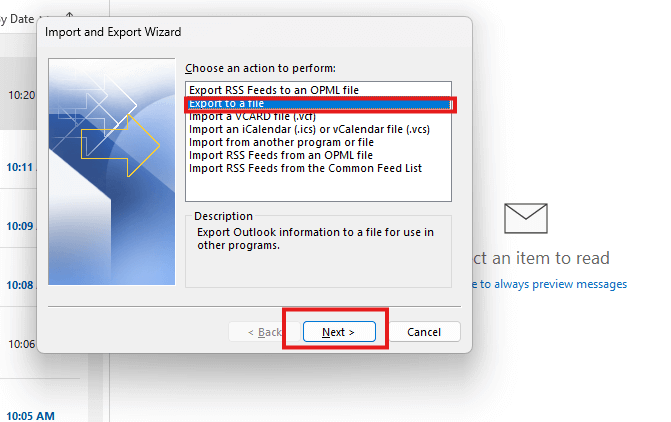
Step 3: When the Import and Export wizard opens, select Export to a file and click Next to proceed.
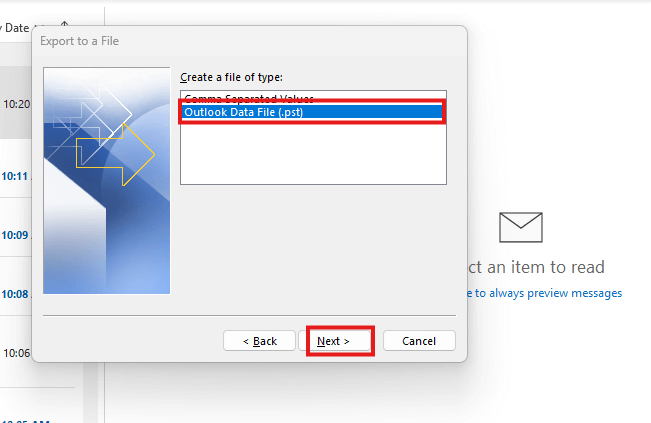
Step 4: Select the Outlook data file (.pst) option and click Next.
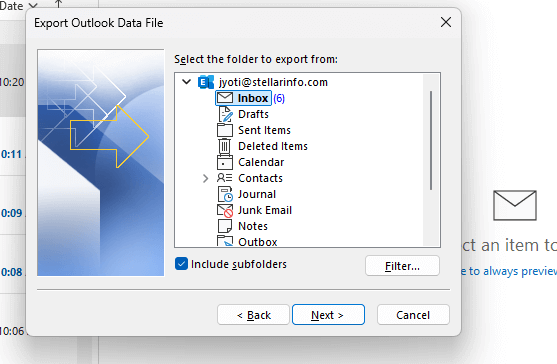
Step 5: Choose the mailbox folder(s) that you want to save in PST file and click on Next.
Step 6: Choose an appropriate option for duplicates (e.g., Replace duplicates with items exported).
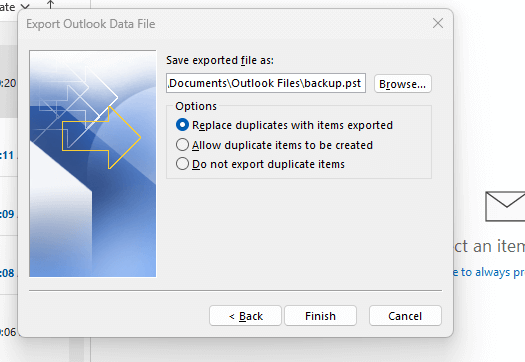
Step 7: Click on Browse and choose the location where you want to save the PST file. Then, click on Finish.
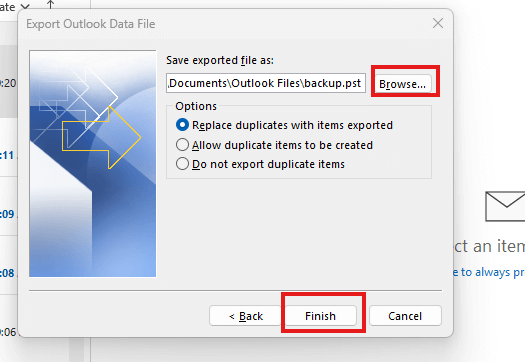
The PST file will be saved at the selected location.
Note: You cannot convert the OST file using the Import and Export wizard if the OST file is inaccessible or orphaned.
Also read: How to Recall an Email in Outlook: A Step-by-Step Guide
Method 2: Convert OST to PST File by using a Third-Party OST to PST Convertor Tool
If the OST file is inaccessible or becomes orphaned, the only option is to use an advanced OST to PST converter tool, such as Stellar Converter for OST. This tool can accurately convert encrypted, orphaned, inaccessible, or IMAP-based OST files to PST and various other formats. It accurately converts all mailbox items, including emails, attachments, calendars, and contacts. After conversion, it displays all the mailbox items in a preview window. This allows us to verify the converted mailbox items before saving. The tool is compatible with all Outlook versions, including Outlook 2021.
Now, let’s see how to convert OST file to PST by using this OST to PST converter tool.
Step 1: Download and Install Stellar Converter for OST
Visit the official page of Stellar Converter for OST and download the software. Then, launch the .exe file to install it.
Step 2: Launch the Software
After installation, launch the software. Click on Offline OST file from the Home ribbon. You will see a window showing two tabs: Profile List and Choose mailbox manually.
Step 3: Select the OST File
When you select Profile List, the software will detect and list the default OST files associated with your account. If you want to convert OST file located at a different location, then click Choose Mailbox Manually.
Step 4: Convert the OST File
After selecting the OST file, click on the Convert button. The software will start the scanning process.
Step 5: Preview the Converted Data
Once the scanning of OST file is finished, the software will present all the mailbox items in a three-pane preview window. Click on any mailbox item to see its enhanced preview.
Step 6: Save the Converted File
Choose the mailbox items you want to save in PST and then select Save Converted File from the Home ribbon. Choose the file format as PST and the location to save the converted file. Then, click OK to begin the saving process. When the process is complete, you’ll see a Saving Complete message.
How to Import PST File (Converted OST) into New Outlook?
The New Outlook is the latest version of Microsoft’s flagship email application that offers various modern features and comes with a refreshed and simplified interface. However, right now, the New Outlook doesn’t support direct import of PST files. So, to import a PST file, you need to switch to Classic Outlook. For this, toggle the Classic Outlook switch located in the top-right corner of the screen. Then, follow the steps below to import the PST (converted OST):
Step 1: Go to File > Open & Export and click on Import/Export.
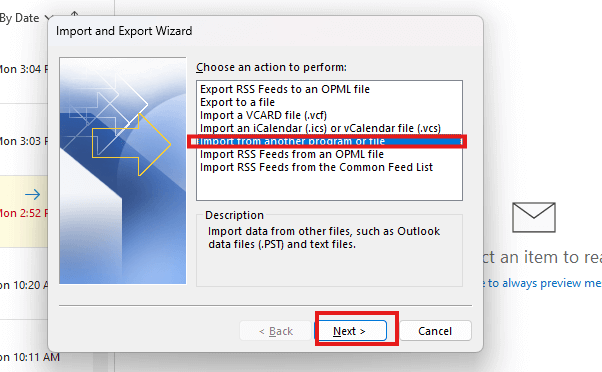
Step 2: Choose the option – Import from another program and click on Next.
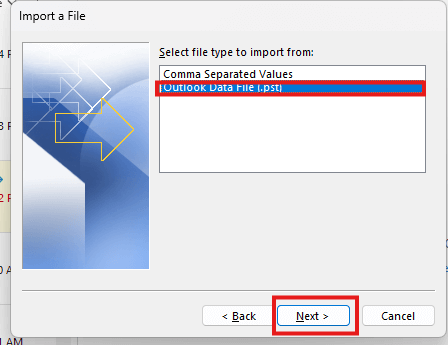
Step 3: Select Outlook Data File (.pst) and click Next.
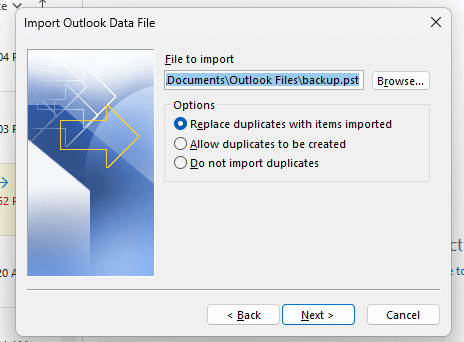
Step 4: Click Browse, choose the location of your file, and click Next.
Step 5: On the next window, select the folder to import from and select the Include subfolders checkbox. Choose the profile and then click Finish.
Now, switch back to New Outlook. You will see the imported PST file items in your New Outlook.
Conclusion
For importing OST file into the New Outlook, you need to first convert the OST to PST format. You can use the Outlook’s Import and Export wizard to convert the OST file. However, this will work if you’re able to access the OST file and the Outlook application. However, if the OST file becomes orphaned or inaccessible, you need to take the help of a third-party OST to PST converter tool, like Stellar Converter for OST. This tool simplifies the conversion process and coverts the OST file to PST while keeping the original folder hierarchy intact. To import the PST file into New Outlook, you need to switch to the Classic Outlook mode.


Leave a comment