

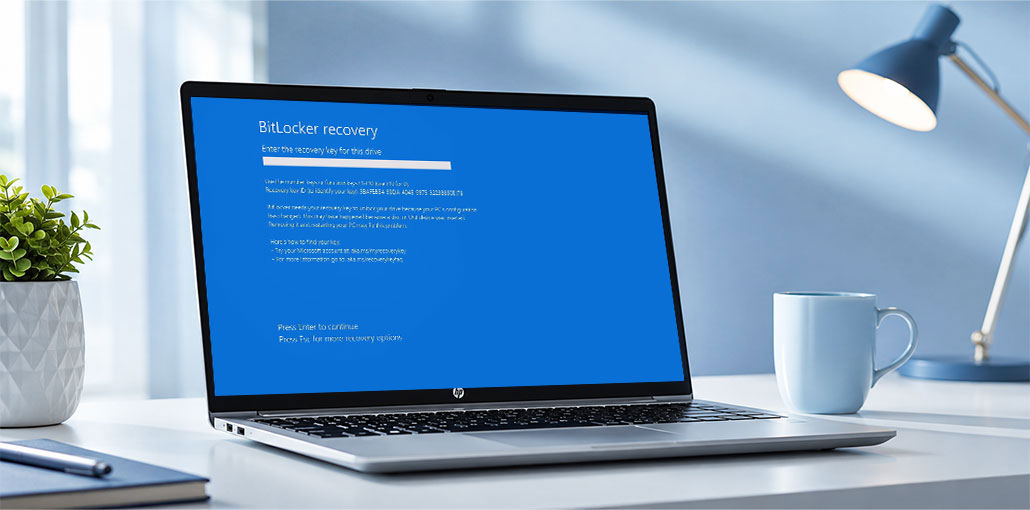
If your PC displays the BitLocker Recovery Screen when starting up, that indicates your HDD/SSD has been encrypted and you need to enter a 48-digit PIN to unlock it. This security feature is available on modern devices. It can be activated when you make changes to computer components or within the BIOS settings. If you’re unfamiliar with this feature or the BitLocker recovery screen on Windows, this is a detailed guide to get it.
This guide shows how to unlock the BitLocker recovery screen with a PIN and without a PIN.
What Is the BitLocker Recovery Screen?
The BitLocker Recovery Screen is a Windows security feature that requires entering an encryption recovery key before accessing an encrypted drive.
A recovery key consists of a 48-digit numeric code. BitLocker will use it in such circumstances to unlock drives when it cannot automatically verify that the computer is in a trusted state.
For example, you might see a message similar to:
“Enter the recovery key to get going again.”
The exact wording can vary depending on your Windows version and device.
Why Does the BitLocker Recovery Screen Appear?
BitLocker may request your recovery key after Windows detects substantial modifications to the computer startup or security environment.
- BIOS/UEFI settings changed
- TPM changes or issues
- Windows updates
- Firmware updates
- Hardware changes
- Boot configuration changes
- Security-related system changes
Also read: Memory Management Blue Screen Error: 7 Quick Solutions for Windows
How to Fix BitLocker Recovery Screen Issue
1. Enter the BitLocker Recovery Key
BitLocker Recovery Screen can be easily resolved by entering your 48-digit recovery key when BitLocker cannot automatically verify the device’s security configuration. Using the matching recovery key can unlock the encrypted drive and allow Windows to continue starting normally without changing system settings.
Steps:
- Note the Recovery Key ID shown on the screen.
- Find your 48-digit BitLocker recovery key.
- Match the key ID with your recovery key.
- Enter the correct key.
- Press Enter to unlock the drive.
2. Find the Recovery Key in Your Microsoft Account
If the recovery key hasn’t been stored locally, your Microsoft account might contain it. When trying to fix the BitLocker Recovery Screen after an unexpected restart, update, or system change, this option can be helpful. Use another device to access your account and obtain the recovery key associated with your PC.
Steps:
- Use another phone or computer.
- Sign in to your Microsoft account.
- Open your BitLocker recovery keys.
- Find the key matching your Recovery Key ID.
- Enter the 48-digit key on the affected PC.
3. Contact Your Work or School IT Administrator
On a school or company computer, your BitLocker recovery key might be managed by an administrator rather than stored within your personal Microsoft account. If the BitLocker Recovery Screen appears on one of your managed devices, contacting IT is usually the safest way to restore access without risking encrypted files.
Steps:
- Record the Recovery Key ID.
- Contact your organization’s IT administrator.
- Provide the required device information.
- Ask them to retrieve the matching recovery key.
- Enter the authorized key on the BitLocker screen.
4. Check Recent BIOS or UEFI Changes
Recent BIOS/UEFI changes can sometimes cause BitLocker to enter recovery mode. If the BitLocker Recovery Screen appears immediately after changes in firmware or boot settings, reviewing those may help resolve this problem. Restore the previous configuration only when you understand what has changed and avoid unnecessary security settings modifications.
Steps:
- Think about what changed before the recovery screen appeared.
- Enter BIOS/UEFI if necessary.
- Review recent boot or security changes.
- Restore the previous configuration when appropriate.
- Restart the computer and check whether BitLocker starts normally.
5. Check the TPM
BitLocker uses Trusted Platform Module (TPM) to verify the security state of a Windows device. TPM changes, resets, or problems can trigger the BitLocker Recovery Screen. If the issue began after TPM-related changes, review its current state after regaining access to Windows. Be wary of clearing the TPM without proper guidance from qualified personnel.
Steps:
- Unlock Windows using your recovery key.
- Check the TPM status in Windows.
- Look for reported TPM errors.
- Review recent TPM or firmware changes.
- Contact your device manufacturer or IT administrator if problems continue.
6. Suspend BitLocker Before Planned System Changes
If BitLocker frequently displays its recovery screen after scheduled BIOS, firmware, or hardware maintenance changes, temporarily disabling BitLocker protection before making these modifications may help avoid prompts for recovery prompts. This method applies if you can already access Windows and is intended as a preventive step rather than to bypass an existing BitLocker lock.
Steps:
- Sign in to Windows.
- Open BitLocker management.
- Select the option to Suspend protection.
- Perform the planned BIOS, firmware, or hardware change.
- Restart Windows and resume BitLocker protection.
7. Reset Windows as a Last Resort
If you can’t find the BitLocker recovery key and don’t need encrypted files, resetting Windows might be a solution. However, this should only be your last option in dealing with the BitLocker Recovery Screen. Resetting or reinstalling Windows could result in data loss. So, back up your important data before doing so.
Steps:
- Confirm that the recovery key cannot be found.
- Consider whether important files remain on the encrypted drive.
- Enter Windows Recovery Environment if needed.
- Select Reset this PC.
- Follow the on-screen instructions and understand the data-loss consequences.
Also read: Windows 11 22H2 Update: What’s the Catch?
How to Prevent the BitLocker Recovery Screen in the Future
You can reduce unexpected BitLocker recovery prompts by following these practices:
- Keep your BitLocker recovery key in a secure location.
- Maintain regular backups of important files.
- Avoid unnecessary BIOS/UEFI changes.
- Be careful when changing TPM settings.
- Before planned firmware or BIOS maintenance, consider suspending BitLocker protection.
- Keep Windows and device firmware updated regularly.
- If the PC is managed by an organization, contact IT before making major security changes.
Conclusion
BitLocker Recovery Screen can appear due to BIOS updates, TPM issues, firmware updates, or hardware modifications. Using your 48-digit BitLocker recovery key may help solve it safely and swiftly. If you can’t locate your key, try consulting either your Microsoft account or contacting your organization’s IT administrator for help. Avoid unauthorized bypass methods, as these could put your data at risk.
FAQs About BitLocker Recovery Screen
Why does the BitLocker Recovery Screen appear after an update?
A Windows update or installation can sometimes be followed by a BitLocker recovery prompt if the system's startup or security environment changes. If this happens, use the correct recovery key and investigate any repeated recovery prompts after regaining access.
Can I bypass the BitLocker Recovery Screen?
There is no legitimate universal method for bypassing BitLocker encryption. If BitLocker requests recovery authentication, use the appropriate recovery key or authorized recovery method.
Will reinstalling Windows remove the BitLocker Recovery Screen?
A reinstall can change the operating system on the computer, but it should not be treated as a way to recover files from an encrypted drive. If your existing files are important, locate the recovery key before taking destructive actions.









Leave a comment