

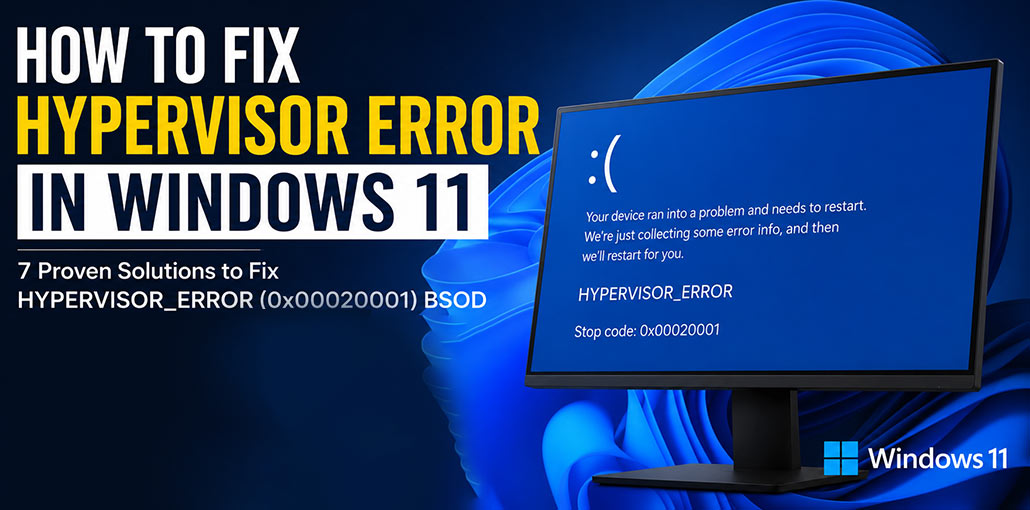
If you experience this Hypervisor error can be a bit frustrating, since all you see is a blue screen of death that eventually closes all your programs.
In this post, we’ll describe what a hypervisor error means and the reason why it occurs. We will also explain solutions to solve the hypervisor_error BSOD.
What is the Hypervisor Error (0x00020001)?
A hypervisor error is a Blue Screen of Death (BSOD), which indicates a problem in the virtualization software that manages the virtual machine. The problem occurs when the Hypervisor fails or crashes and displays a stop code HYPERVISOR_ERROR with a bug-check code value of 0x00020001.
What Causes the Hypervisor Error in Windows 11?
Here are some of the main causes of the Windows Hypervisor error:
- Virtualization disabled in BIOS/UEFI
- Incorrect Hyper-V configuration
- Corrupted Windows system files
- Faulty or outdated device drivers
- Damaged hard drive sectors
- Memory (RAM) problems
- Corrupted Windows installation
- Outdated BIOS/UEFI firmware
- Driver conflicts
How to Fix Hypervisor Error in Windows 11
Now that we understand what is behind the Hypervisor error blue screens. Start with the easiest methods before moving to advanced troubleshooting.
1. Check Whether Virtualization Is Enabled in BIOS/UEFI
This quick test can quickly assess whether your Windows 11 system supports virtualization and may help resolve hypervisor error BSoDs in computers running the OS. If Hyper-V is supported on your machine, use this to see whether it’s enabled or not.
- Open your settings.
- Select the System tab and click the About tab on the left pane.
- Take the information from your processor and look up its specifications online to see whether the manufacturer’s website lists virtualization as a feature.
- If it is, make sure that the virtualization feature is enabled on your system.
- If you are not enabling virtualization, you’ll need to enter the computer’s BIOS by pressing F2, Delete, F10, or Esc during startup
- After entering the system BIOS, go to the Advanced Tab and verify the status of Intel (R) Virtualization Technology.
- If it’s disabled, enable it.
- Save your changes and quit the BIOS.
Note: The method above is only applicable to Intel users.
2. Update Device Drivers & Windows OS
Another method to get rid of the Hypervisor error BSOD that appears on your Windows 11 computer. Outdated device drivers and operating systems could cause the system to display this error screen, hindering your work. Follow the steps below to update the system drivers and Windows OS.
To update device drivers –
- Press Win + X and select Device Manager from the menu.
- Double-click all devices to increase their size.
- Find all entries that have an exclamation point.
- Right-click each one by one, and then click properties.
- On the Driver tab, select the Update Driver tab.
To update Windows OS –
- Press the keys WIN + I to open Settings.
- Click Update & Security.
- Select Windows Update and then Check for Updates.
3. Repair System Files Using Command Prompt
Corrupt or missing system files may prevent Hyper-V from operating correctly and trigger the Hypervisor Error Blue Screen of Death on Windows 11. You can use CHKDSK, SFC and DISM to repair disk errors and recover damaged system files.
Check Your Hard Drive for Errors
- In the Command Prompt window, type the following command and press Enter:
chkdsk C: /f /r /x - If Windows asks to schedule the scan on the next restart, type Y and press Enter.
- Restart your computer and allow CHKDSK to scan and repair the drive.
Run the System File Checker (SFC)
- After Windows starts, open Command Prompt as Administrator again.
- Run the following command:
sfc /scannow
- Wait for the scan to complete and repair any corrupted system files.
Run the DISM Tool
Then enter the following commands and run them one at a time. Then, run them one at a time
- DISM.exe /Online /Cleanup-image /Scanhealthand hit Enter.
- DISM.exe /Online /Cleanup-image /Restorehealth and hit Enter.
Enable Hypervisor to Start Automatically
In the end, you can type the command and ensure the Hyper-V service launches as soon as the system starts up.
- bcdedit /set hypervisorlaunchtype auto
After all commands have completed successfully, restart your PC and check whether the Hypervisor Error has been resolved.
4. Restart the Hyper-V Virtual Machine Management Service
When the user attempts to run a virtual machine on their PC, it fails to do so and displays the hypervisor error blue screen, which can cause an unintentional system crash. This issue can be resolved by activating the appropriate service connected with the Microsoft Virtual Machine Platform. To do so –
- Press WIN + R.
- Type services.msc and hit Enter.
- Look for Hyper-V Virtual Machine Management in the list and choose it.
- Right-click the entry to verify the status. If it’s running click Restart, if stop it click Start.
- If necessary, open Properties and set Startup type to Automatic.
- Click Apply and OK.
- Restart your computer and check whether the Hypervisor Error has been fixed.
5. Reinstall Hyper-V Using Windows Features
You already mention this in your introduction but never explain it.
Steps:
- Press Win + R, type optionalfeatures, and press Enter.
- Locate Hyper-V.
- Uncheck Hyper-V and click OK.
- Restart your computer.
- Open Windows Features again.
- Check Hyper-V to reinstall it.
- Restart your PC.
6. Update BIOS/UEFI Firmware
Older BIOS versions can cause virtualization compatibility issues.
Steps:
- Press Win + R, type msinfo32, and press Enter.
- Note your BIOS Version/Date.
- Visit your PC or motherboard manufacturer’s support website.
- Download the latest BIOS update.
- Follow the manufacturer’s instructions to install it.
- Restart your computer.
Warning: Do not turn off your PC during the BIOS update.
Also read: 6 Easy Ways to Fix BIOS ID Check Error During a BIOS Update
7: Run Driver Verifier
This helps identify faulty drivers that may trigger the Hypervisor Error.
Steps:
- Press Win + R, type verifier, and press Enter.
- Select Create standard settings.
- Click Next.
- Choose to automatically select all drivers installed on this computer.
- Click Finish.
- Restart your computer.
- If Driver Verifier detects a faulty driver, update or uninstall it.
How to Prevent Hypervisor Error in Windows 11
Follow these best practices to reduce your chances of running into this Blue Screen of Death:
- Keep Windows updated.
- Update device drivers regularly.
- Enable virtualization correctly in BIOS.
- Avoid unstable overclocking.
- Scan for malware.
- Keep your BIOS up to date.
- Check your hard drive and RAM periodically.
Ending Notes
A Hypervisor Error (HYPERVISOR_ERROR 0x00020001) in Windows 11 computers is an annoying issue that is typically caused by a virtual computer that fails to start or whose image gets corrupted. In this post, we have discussed the reasons for this issue and solutions to resolve this problem.
FAQs: Hypervisor Error
Is it safe to reinstall Hyper-V?
Yes. Reinstalling Hyper-V is safe and can repair corrupted virtualization components without affecting your personal files.
Can a BIOS update fix the Hypervisor Error?
Yes. If the error is caused by outdated firmware or virtualization compatibility issues, updating your BIOS/UEFI may resolve the problem.
Is Hypervisor Error a hardware or software problem?
Hypervisor Error can be caused by both software and hardware issues. Common software causes include corrupted system files, outdated drivers, and Hyper-V conflicts. Hardware problems such as faulty RAM or storage errors can also trigger this BSOD.
How do I check if Hyper-V is enabled in Windows 11?
Open Windows Features by pressing Win + R, typing optionalfeatures, and pressing Enter. If Hyper-V is checked, it is enabled on your system.





Leave a comment